
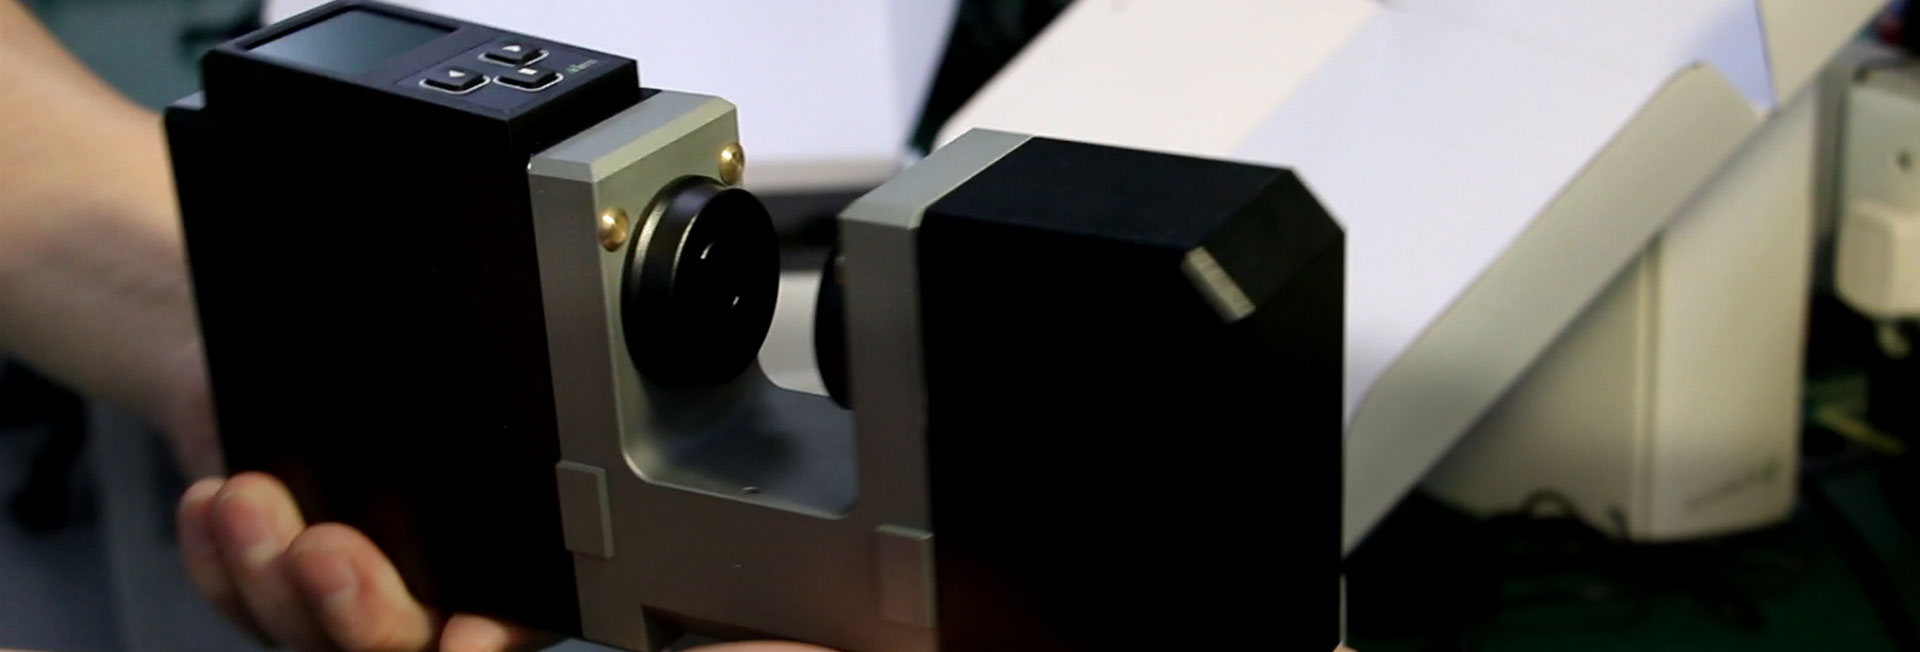
DALA DM300/DM300S measures drawing dies (diameter, ovality, bearing length, reduction angle) are designed with the most updated architecture and are providing important & unmatched features like noise & brightness isolating window. Using DALA drawing die measurement systems, you will only pay for the instrument, no need factory maintenance but still enjoy same performance lifelong.
When you unpack DM300/DM300S, you will find a user manual handbook, the PDF version can also be found in DALA PC program.
If it is your very first time to use such an Electro-optical measurement system, this artical will guide you to do the calibration and allow you to easily and quickly locate drawing die image on the video window of measurement program,
Mechanical Auto Calibration (User calibration)
The mechanics of DM300S has been calibrated from factory and it is expected to last for up to 6 months. However, if you'd like to have an optimized instrument with regard to accuracy, a mechanical auto calibration should be carried out at regular intervals, which is suggested as every 4 weeks.
Place the Razor Blade Object on the Measurement Table
Before you start the auto calibration, place the Razor Blade Object on the Measurement Table. A red light spot will help you to find the measure zone, carefully move the razor blade till the red light spot on the edge of razor blade.
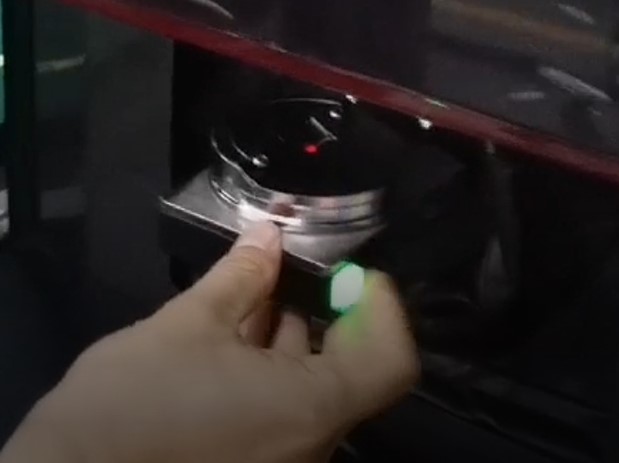
In order to find the razor blade image you may have to start with a low magnification.
Carefully place the razor blade object vertically in the middle of the video window, but at a small angle which is approx. 2~5 degree.
It does not matter the semi circle is facing to either the right or left.
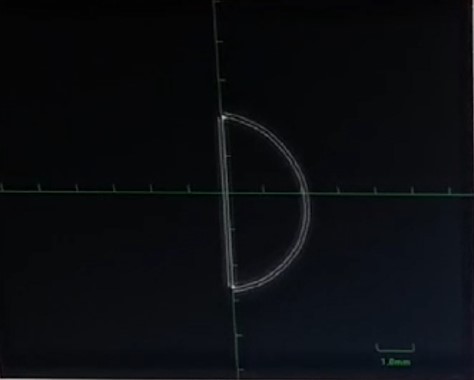
Select objectives with higher magnification while adjusting both focus and position so that the razor blade remains in the middle.
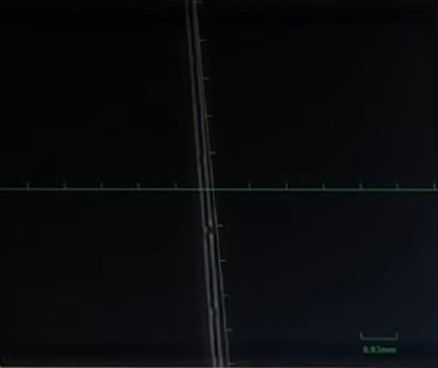
Then switch to the objective with highest magnification while adjusting both focus and position so that the razor blade remains in the middle.
NOTE: The calibration should be process with the highest available magnification on your DM300/DM300S.
Now you are good to click 'Maintain' menu, and then click 'System Calibration' to start process the auto calibration.
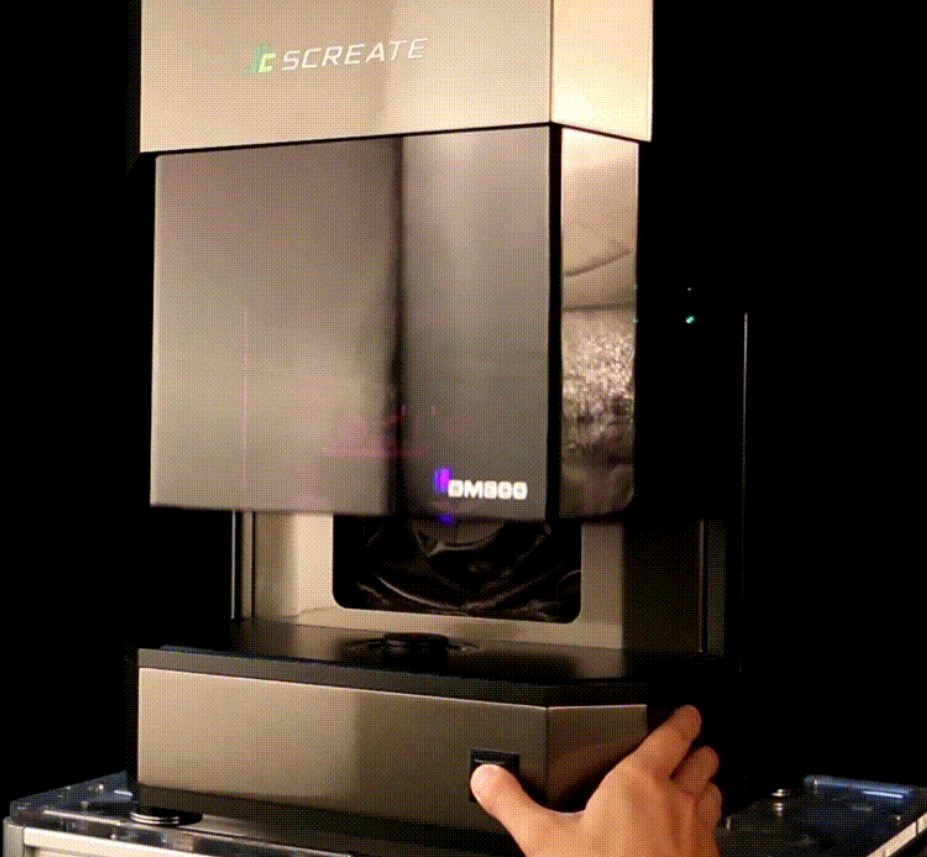
In order to create the most ideally environment for the calibration and the best performance, take advantage of close the auto shield window, just simply press the button and hold till it closed down.
Quickly Position the Die Image on Video Window
You should clean dies before measure them. Place the clean die in the Die Holder, and fasten the holding screw securely. Make sure that the die entrance cone faces upwards.
Place the die on measurement table and move till the red ligth spot right in the die hole. In most cases you are now ready to start the automatic measurement.
However, in some cases you have to change Magnification or click Up/Down button of Z-axis to adjust the height (focus the die image) of the Measurement Table until you see a clear hole or ring image of the die hole.
Then select magnification according to the recommendations corresponding to the size of inner diameter of die. Now you are ready to start the measurement by clicking the 'start' button.
For the best performance and highest accuracy, try to use the DALA Unmatched Auto Shield Window.